Download Phoenix Service Tool V1.4, If you own a Nokia HMD Android phone and need to remove Frp, factory reset, or unlock pattern password pin lock, Phoenix Service Tool is the perfect Windows program for you. It’s designed specifically for these tasks and is easy to use. We’ve provided a link to download the latest version, Phoenix Service Tool v1.4, and included instructions for using it on any computer.
In addition to that, this tool has a variety of other useful functions. For instance, it can flash firmware, modify firmware, reset user data and FRP, read information, and reboot the bootloader.
If you’re looking for a fast and affordable way to unlock or flash any Nokia Android phone, then Phoenix Tool may be the perfect option for you. This premium program requires a small fee for activation and use on your computer.
Using the Phoenix Nokia HMD Tool is a straightforward process. First, run the setup.exe file. Then, put your device in Factory/Diag/USB mode and connect it to your computer. Finally, click on Reset FRP/Unlock and you’re done. It’s that simple!
Feature of Phoenix Service Tool
1. Flashing All Nokia HMD Devices, regardless of the model or chipset used. It supports a wide range of chipsets including (MTK/SPD/UNISOC/QLM)
2 Perform Factory Reset, Erase Userdata, Wipe data, and Remove Pin, Pattern, and Fingerprint locks.
3. Reset FRP (Google Factory Reset Protection) Erase FRP/Remove Google Locks.
4. Reading Device Info, IMEI, SKUID, Product Version, Software Version, Product TA Version, Serial Number, Security Version.
Download Phoenix Service Tool V1.4 Setup – Latest Version
You can get the latest setup version of Phoenix Service Tool V1.4 by clicking on the link below. Please note that this software is only compatible with Windows 8, 10, and 11 (both 32-bit and 64-bit).
File Name: Nokia HMD Best Service Tool
File Size: 22MB
Type:.exe
Pricing
PIN Unlock = 1 Credit
FRP Unlock = 1 Credit
PIN+FRP Unlock= 1 Credit
Flash Firmware = 5 Credits
Contact the Reseller for Purchase Credits
How to Use And Install Phoenix Service Tool:
1. To start, you’ll need to download the most recent version (V1.4) of the Phoenix Service Tool onto your computer.
2. Extract the contents of the downloaded Setup.zip file and navigate to the resulting folder.
3. Launch the Phoenix Service Tool V1.4 by running it as an administrator.
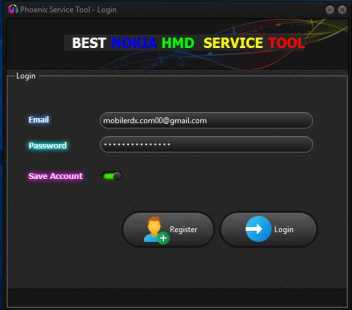
4. Register an account within the tool by following these steps:
- Click on the “Register” button.
- Fill in your desired Username, Email ID, and Password.
- After inputting the details, click on “Register,” and you’ll receive a “User Registered Successfully” notification.
5. Log in to the Phoenix Service Tool V1.4:
- Return to the Login Window.
- Enter the same Email ID and Password you used during registration.
- Click on the “Login” button to successfully access the tool.
6. With a successful login, the tool’s main interface will appear.
7. You can now utilize the functions provided in the tool, including:
Flash Tab:
Flash Firmware
Erase FRP (Factory Reset Protection)
Erase User data
Auto Reboot
Service:
Read Info
Reset User data
FRP Reset
Reset User data + FRP
Reboot Bootloader
8. To proceed, select the specific option you wish to utilize from the functions listed above.
9. Connect the device to your computer based on the selected option.
10. Click the “Start” button on the Phoenix Service Tool to initiate the process.
11. The tool will detect the connected phone and begin the process accordingly.
12. Once the process completes, you’re done!
When it comes to fixing and maintaining mobile devices, the Phoenix Service Tool stands out as a reliable and powerful option for Nokia devices. Its many features and functions, such as firmware flashing, USB flashing for dead phones, changing the product code, extracting user data, and doing advanced troubleshooting, make it an essential tool for techs and service centers. With the Phoenix Service Tool, Nokia users can relax knowing that problems with their devices can be fixed quickly and effectively.


